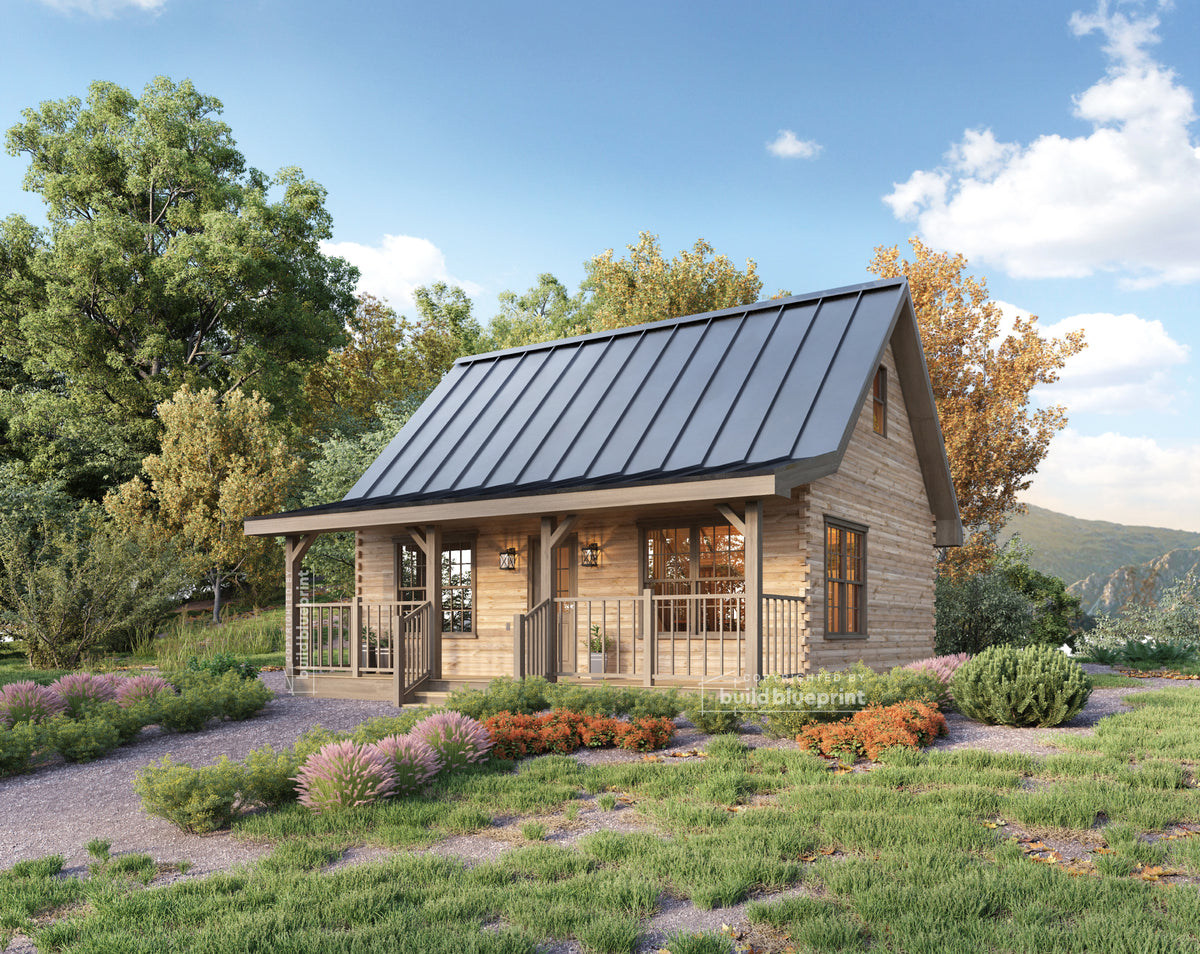

An A-frame isn't just a shape people like on Pinterest — it's the cheapest roofline you can build, because the roof is the wall. That structural shortcut is why solo builders have documented complete small A-frame cabins for $8,000–$13,000 in materials, and why a $15,000 all-in budget is realistic if you plan around the design's real strengths and real limitations. This article breaks down exactly where that money goes, in what order you spend it, and where A-frames genuinely save you money versus where they quietly cost you more.
Why A-Frames Actually Cost Less to Build
A conventional small cabin needs three separate structural systems: stud walls, a roof structure sitting on top of those walls, and the connections between them. An A-frame collapses two of those systems into one — the same triangular members that form the roof also form the walls. That means:
- Fewer total framing members — no separate wall studs plus rafters, just one continuous truss/rafter running from ridge to foundation
- Simpler foundation loads — weight transfers down the two angled legs of each truss to point-loads at the eaves, which is why pier foundations are so common on A-frames. Concrete pier foundations run roughly $2–$6 per square foot versus $4–$8 for a slab and $7–$14 for a crawl space — see our foundation comparison guide for the full breakdown
- Less exterior finish work — the roofing material and the siding material are frequently the same material, installed in one continuous run, which cuts a full trade out of the project on most of the building's surface
At a 30-degree roof pitch, an A-frame's sloped skin covers roughly 20% less surface area than a boxy structure would need to enclose the same floor plan, and site work typically comes in around just 7.4% of total construction cost on a typical A-frame project.
One honest caveat: this efficiency argument holds up clearly for small, owner-built cabins. For large, contractor-built A-frame houses, cost data is blunter: A-frames generally don't cost less than traditional houses once you're paying full retail labor rates at 1,000+ square feet, partly because the steep roofline exposes more exterior surface to weather and complicates gable-end work. The savings in this guide are concentrated in small, DIY-labor builds — not in hiring a GC to build a full-size A-frame home. For a fuller comparison of the two styles, see A-Frame vs. Traditional Cabin.
Start From a Plan Built for Efficient Framing, Not a Custom Design
The single biggest lever on your budget isn't the lumber yard — it's the plan set. A custom-designed A-frame invites non-standard spans, odd truss angles, and framing details your lumber yard has to special-order. A plan drawn specifically for efficient material use keeps you on standard lumber lengths, standard sheet goods, and a truss angle that doesn't force custom cuts on every rafter.
Browse our A-Frame Cabin Plans collection for plan sets drawn around exactly this kind of efficient framing. If budget is your primary constraint rather than the A-frame silhouette specifically, our Budget Cabins collection has 35 plans across styles selected the same way.
Real Cost Breakdown: A-Frame Cabin (~250–300 sq ft footprint)
Costs below assume a small, owner-built A-frame with a sleeping loft, built mostly with your own labor. Ranges are wide on purpose — material prices, whether you're milling your own lumber, and regional labor rates all move these numbers.
| Category | Estimated Cost | Notes |
|---|---|---|
| Foundation (concrete piers) | $600 – $2,400 | Based on $2–$6/sq ft for pier foundations |
| Framing (structural lumber/trusses) | $2,500 – $6,000 | Wider if you can't source standard lumber lengths |
| Roofing & siding (combined) | $1,500 – $4,000 | Same material covers both on most of the structure |
| Windows (incl. gable-end glazing) | $800 – $3,000+ | Custom angle-cut gable glass costs meaningfully more |
| Interior finish (insulation, walls, electrical, loft) | $2,000 – $5,500 | Tongue-and-groove pine over drywall is common for cost/DIY ease |
| Total (shell + finish) | ≈ $7,400 – $20,900 | Brackets the $15,000 target on the low-to-mid end |
That range does not include land, permits ($500–$2,000 typically), septic/well, or off-grid power. Budget those separately.
Real-world anchor: one documented solo build put a ~100 sq ft A-frame at roughly $8,000 in materials alone — about $106 per square foot — over 35–40 working days with volunteer labor. A separate DIY plan claims a ~120 sq ft off-grid A-frame buildable for as little as $2,500 in materials, though that figure excludes labor cost and any wiring or insulation upgrades. Your number will land somewhere between these depending on size, finish level, and how much of the labor you do yourself.
Step-by-Step: How A-Frame Construction Sequencing Works
A-frame builds don't follow standard stick-frame sequencing. Here's the order that actually works:
- Prep the site and set piers. Level the ground and set concrete piers or footings at each point where a truss leg will land.
- Build the floor platform. Frame and sheathe a floor deck on top of the piers before any wall/roof framing starts.
- Build one truss as a template. Cut and assemble a single A-frame truss on the ground, check the angles, and use it as a jig to mark every remaining truss identically.
- Cut and assemble the remaining trusses on the ground, using the template.
- Raise the trusses and set the ridge beam. This needs at least two, ideally three people.
- Sheath the roof/wall skin with plywood, working from the floor deck up to the ridge, then wrap with house wrap or underlayment.
- Install the roofing/siding material over the sheathing in one continuous material run up both sides.
- Frame the gable ends and install the door and windows, including any gable-end glazing.
- Frame the loft platform, typically installed partway up the trusses where headroom is still usable.
- Insulate and finish the interior — wall/ceiling covering, basic electrical, and any stove or off-grid systems.
Money-Saving Tips Specific to A-Frame Builds
- Build one truss, verify it, then template the rest. A bad angle on truss #1 compounds into every truss after it.
- Design around standard 4×8 plywood sheets to control cost and waste.
- Match your ridge span to standard lumber lengths instead of a custom span that forces splicing or special orders.
- Use a pier foundation over a slab wherever your soil and frost depth allow it.
- Order roofing and siding material together since they're frequently the same product on an A-frame.
- Keep gable-end glazing simple. A standard rectangular window mounted within a framed-in gable section costs meaningfully less than a full custom angle-cut pane.
- Skip a crane. A truss-raising crew of two to three people, using a come-along or block-and-tackle for the final lift, replaces equipment rental most small A-frames don't need.
The Real Tradeoffs — Be Honest With Yourself Before You Build
- Usable floor area is smaller than the footprint suggests. Because the walls slope inward from the ground up, you lose standing headroom near the perimeter. Plan your layout around the center of the structure, not the full footprint dimension.
- Gable-end windows cost more than they look like they should. Anything custom-cut to match your roof pitch is a specialty order — price it before you commit to a design.
- Loft access is a real limitation, not a charming detail. Most small A-frame lofts are ladder-accessed with limited headroom. Fine for a sleeping loft, poor for anything you need to access often or with kids/mobility concerns.
Get a Plan That's Already Optimized for This Budget
The fastest way to hit $15,000 isn't cutting corners on a custom design as you go — it's starting from a plan already drawn around standard lumber, efficient truss angles, and a footprint that doesn't fight the structure's natural strengths.