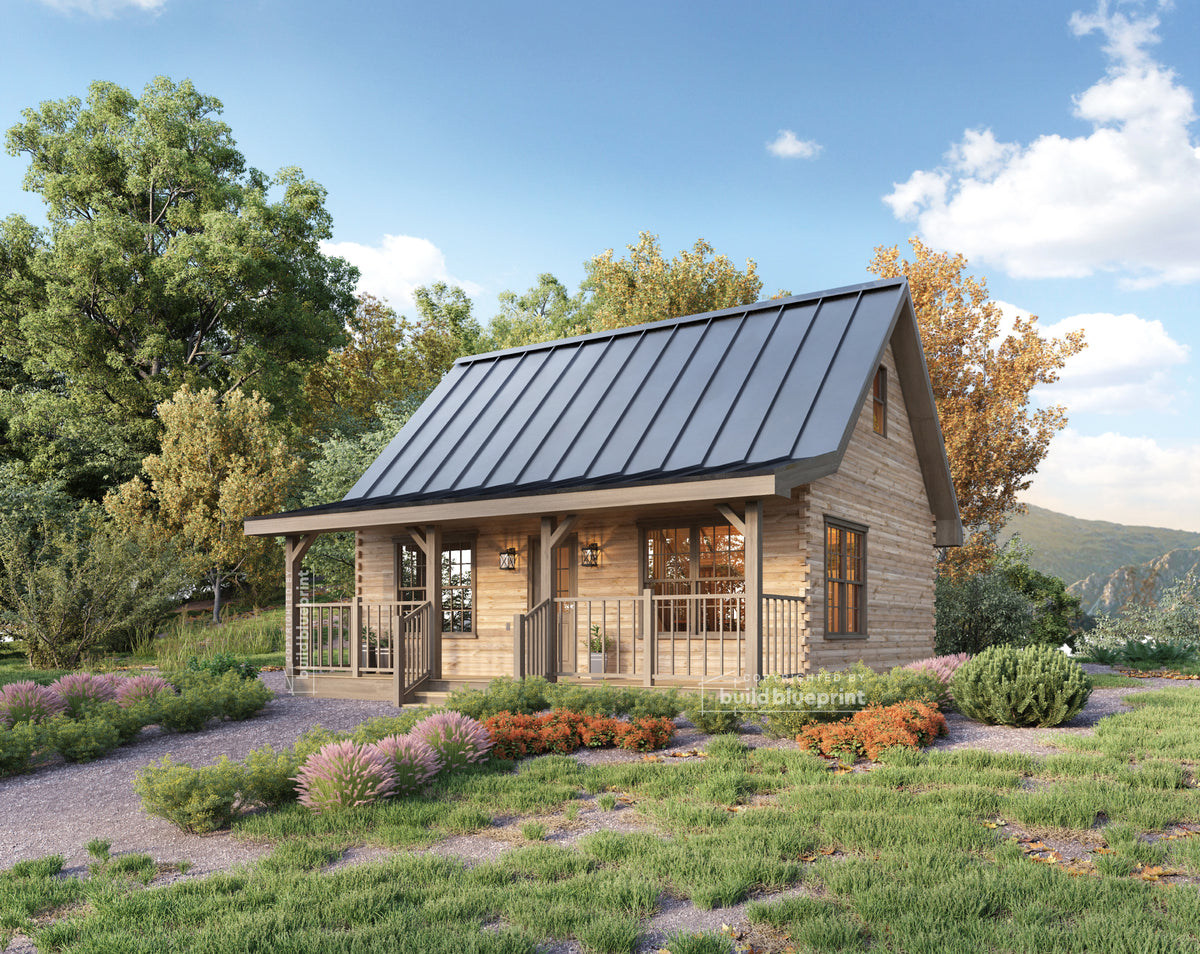

Most people who abandon a DIY cabin build don't quit because the framing was too hard — they quit because they bought a truckload of tools they didn't need and skipped the two or three they actually did. A pier-foundation cabin under 350 square feet doesn't require a concrete crew, a bobcat, or a decade of carpentry experience. It requires the right dozen tools per phase, a handful of skills you can learn on the job, and honesty about which two or three tasks you should practice first — or just pay someone for. Here's the real list, broken down by build phase, using the actual specs from three DIY cabin plans currently in our catalog.
Why a Pier Foundation Changes Your Entire Tool List
All three plans referenced in this guide — the 12' x 20' Small Cabin Loft plan, the 12' x 18' Tiny A-Frame Cabin plan, and the 16' x 20' Redwood Cabin Loft plan — use a concrete pier foundation, not a poured slab. That single spec eliminates most of the intimidating, crew-dependent work people associate with "pouring a foundation."
You don't need slab forms, a screed board, a bull float, a power trowel, a concrete pump, or a finishing crew standing by while wet concrete sets on a deadline. You need to dig or auger a series of holes, set piers plumb and level using a string line, and let each one cure on its own schedule. That's a fundamentally different — and far more forgiving — job for a first-timer working alone or with one helper.
- What piers remove from your list: concrete forming lumber, rebar mesh for a full slab, a vapor barrier layer, expansion joint tooling, and the all-hands-on-deck timing pressure of a slab pour.
- What piers add to your list: a way to dig or auger holes to the required depth, a mason's string line and line level to keep every pier at the same height, and patience — piers go in one at a time, so there's no rush.
- The tradeoff: pier foundations mean more individual measurements to get right (each pier has to match the others), but each individual task is simpler and lower-stakes than slab work.
The Tool List, By Build Phase
Below is what you actually need — not a padded "ultimate tool checklist" designed to sell you a $600 tool cabinet. Each phase separates what you should own outright from what's cheaper or smarter to rent for a weekend.
Phase 1: Foundation & Site Prep
| Must-Own | Nice-to-Have / Rent |
|---|---|
| Tape measure (25') | One-man gas-powered auger (roughly $75–100/day at most equipment rental yards) |
| Mason's string line & line level | Laser level (speeds up setting equal pier heights) |
| 4' spirit level | Plate compactor (only needed on loose or sandy soil) |
| Square-point shovel & digging bar | Wheelbarrow (borrow if you can — you'll only need it a few days) |
| Hand tamper | Post hole digger (manual, cheap — fine as backup to an auger) |
| Rubber mallet, chalk line, stakes | Concrete mixer (small batches for piers can be hand-mixed in a wheelbarrow) |
If your soil is sandy loam or light clay, a rented auger will chew through pier holes in an afternoon. Rocky or heavy clay ground is where a lot of first-timers get honest with themselves fast — more on that in the skills section below.
Phase 2: Framing
| Must-Own | Nice-to-Have / Rent |
|---|---|
| Circular saw (corded, 7-1/4") | Pneumatic framing nailer + compressor (cuts framing time roughly in half) |
| Cordless drill/driver, 2 batteries | Miter saw (faster, more accurate repeat cuts) |
| 16 oz. framing hammer | Table saw (rarely required at this footprint, but handy for ripping) |
| Speed square & combination square | Site-built sawhorses (cheaper than buying, take an hour to make) |
| Chalk line, tape measure, utility knife | Step ladder / short scaffold plank |
| 4' and 6' spirit levels |
Framing scope matters here. The 12' x 18' Tiny A-Frame Cabin plan is a 160 SF footprint with a vaulted 12' ceiling — simple wall sections, a straightforward ridge, no complicated rooflines to frame around. The 12' x 20' Small Cabin Loft plan and 16' x 20' Redwood Cabin Loft plan add a loft platform, which means a bit more framing to get level, but neither introduces the dormers, valleys, or multi-pitch rooflines that turn framing into a job for a licensed crew. All three use a standard gable or A-frame roof geometry — one ridge, two slopes, done.
Phase 3: Roofing
| Must-Own | Nice-to-Have / Rent |
|---|---|
| Roofing hammer or hand nailer | Coil roofing nailer (speeds up shingle or metal panel install) |
| Utility knife (roofing blades) | Fall-protection harness kit (non-negotiable on steep A-frame pitches, rent if you don't own one) |
| Chalk line & tape measure | Extension ladder (rent if the pitch or eave height exceeds what you own) |
| Roofing square | Tin snips (metal roofing panels) |
Roof load matters more than roof shape for tool selection. The 16' x 20' Redwood Cabin Loft plan is engineered for a 105 PSF roof load, while the other two plans are rated at 90 PSF — heavier snow-load ratings generally mean more fasteners and tighter nailing patterns, not different tools.
Phase 4: Exterior (Siding, Windows, Doors)
| Must-Own | Nice-to-Have / Rent |
|---|---|
| Caulk gun | Paint sprayer (faster than rolling on a full exterior) |
| Tin snips (for flashing) | Rolling scaffold (safer and faster than repositioning a ladder for siding) |
| Level, hammer, tape measure | |
| Utility knife, staple gun (house wrap) |
Phase 5: Interior Finish
| Must-Own | Nice-to-Have / Rent |
|---|---|
| Cordless drill/driver | Finish/brad nailer (trim work looks noticeably cleaner) |
| Stud finder | Compound miter saw (trim corners) |
| Drywall taping knives (if finishing walls) | |
| Utility knife, tape measure, level |
Skill Self-Assessment: What You Can Learn on the Job
Tools are the easy half of this question. The harder, more honest half is whether you can actually execute the steps — and this is where most people overestimate the difficulty. All three plans referenced here come complete with detailed, step-by-step illustrated build instructions, so you're not staring at a bare set of blueprints trying to improvise sequencing, joint details, or fastening schedules on your own. You're following numbered steps with drawings. That alone moves a lot of "you need a contractor for this" tasks into "you can learn this on site" territory.
Learn It On the Job (No Prior Experience Needed)
- Measuring and marking lumber — using a speed square and tape measure accurately is a first-day skill, not a first-year skill.
- Setting and leveling piers — string line, line level, and patience. Slow and mechanical, not technically demanding.
- Basic wall framing — studs, top plates, bottom plates on a small footprint like the 160 SF A-frame or 215 SF loft cabin are short, repeatable runs, not the multi-story load calculations of a full house.
- Installing sheathing — OSB or plywood panels on walls and roof deck, fastened on a layout the plans already give you.
- House wrap and siding installation — mechanical, repetitive, and forgiving of small errors.
- Basic interior framing and insulation — non-structural interior work with low consequences if you need a redo.
Practice First (Try It on Scrap or a Small Section Before You Commit)
- Rafter or ridge cuts — even a simple gable or A-frame roofline involves angled cuts (birdsmouth notches, ridge bevels) that benefit from a few practice cuts on scrap lumber before you cut your actual rafters.
- Running a framing nailer — fast and powerful, which means mistakes happen fast too. Get comfortable with the trigger and depth adjustment before framing goes vertical.
- Working at height — roof sheathing and shingling on an A-frame's steeper pitch is a different physical skill than working at ground level. If you haven't been on a roof before, your first time shouldn't be alone.
- Basic low-voltage or non-structural electrical runs — running cable and boxes is learnable, but treat it as a skill to build, not wing.
Hire It Out (Skip the Learning Curve Here)
- Final electrical panel connection and utility tie-ins — this is where a mistake isn't just costly, it's dangerous. Bring in a licensed electrician for the connection point even if you ran your own interior wiring.
- Excavation in rocky or heavy clay ground — if a rented auger can't get through your soil after a couple of honest attempts, that's a signal to bring in equipment and an operator, not to keep swinging a digging bar.
- Anything you're still unsure about after reading the plan twice — a single afternoon of paid help on the one step you're not confident about is cheaper than redoing a mistake in materials and time.
Matching the Right Plan to Your Skill Level
If this is genuinely your first build, footprint and roofline complexity matter as much as the finish list. The 12' x 18' Tiny A-Frame Cabin plan is the smallest of the three at 160 SF plus a sleeping loft, with an estimated materials cost starting around $4,000 — the lowest financial and physical commitment of the group, though its steeper A-frame roofline means the fall-protection gear in the roofing table above isn't optional.
The 12' x 20' Small Cabin Loft plan steps up to 215 SF plus a loft, with a full bedroom-and-bathroom layout and materials estimated from $8,000. The 16' x 20' Redwood Cabin Loft plan is the largest footprint at 320 SF plus loft, rated for a heavier 105 PSF roof load, with materials estimated from $5,500. More square footage means more repetitions of the same skills — not new skills — which is exactly why the tool and skill lists above apply to all three almost without change. Browse the full lineup, including footprint, ceiling height, and roof load specs for each, in our DIY Cabin Plans collection.
Bottom Line
You don't need a contractor's trailer full of tools or ten years of trade experience to build one of these cabins. You need roughly a dozen hand tools you likely already own, two or three rentals for the weekend you need them, and honesty about which handful of tasks — rafter cuts, working at height, the final electrical hookup — deserve practice or a professional before you commit. The pier foundation and simple gable or A-frame rooflines on these plans keep the skill bar lower than most first-timers assume, and the step-by-step illustrated instructions mean you're never guessing at sequence.
Related DIY Cabin Guides
- How to Build a Small Cabin Yourself: A Beginner's Step-by-Step Guide
- Small Cabin Plans With Loft vs. A-Frame: Which DIY Design Is Right for You?
- First-Time Builder? What to Look for in DIY Cabin Plans Before You Buy
- Weekend Retreat, Hunting Camp, or Backyard ADU: Matching Your DIY Cabin Plan to Your Use Case