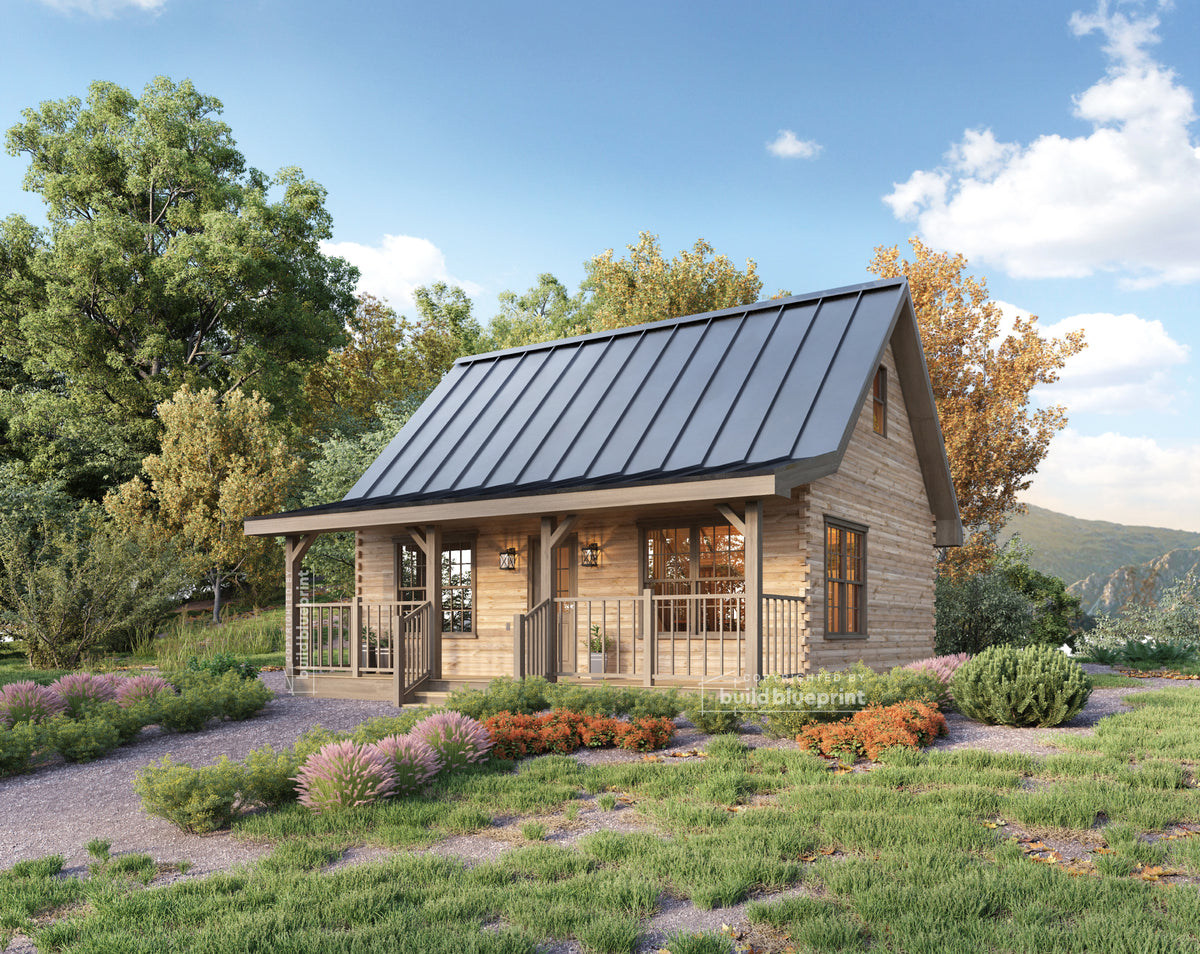

A framing nailer, a circular saw, a 4-foot level, and roughly eight to fourteen weekends is what it actually takes to turn bare ground into a lockable cabin shell — no framing crew, no GC, no construction background required. This guide walks a total beginner through every phase of a small cabin build in the exact order it happens on site: prep, foundation, floor, walls, roof, weatherproofing, and interior finish. Three real DIY plan sets are used as reference points throughout, so every measurement below is an actual spec pulled from a real plan — not a rounded-off guess.
Before You Touch a Shovel: Plan, Permit, Prep
Every DIY cabin that actually gets finished starts on paper. Before any lumber gets ordered, you need a buildable plan, a realistic materials budget, and a site that's been cleared and leveled. Skip this step and you'll stall out mid-build — usually at a permit office you didn't know you needed to visit.
A real plan set does two jobs a Pinterest sketch never will: it gets you through your local building department, and it tells you what to build on which day. Most plan sets on the market hand you a blueprint and nothing else and leave you to figure out sequencing on your own. Beginner-focused sets like the 12' x 20' Small Cabin Loft DIY Build Plans are built differently — they come complete with detailed, step-by-step illustrated build instructions, not just dimensioned drawings, so a first-timer isn't guessing at what "frame the header" actually looks like in practice.
- Pull your plan before you price lumber — a stamped, detailed plan set is what turns a materials list into an accurate materials budget instead of a guess.
- Call your building department first — permit requirements, setbacks, and snow-load rules vary by county, and they determine which plan and foundation type you're even allowed to build.
- Clear and level the pad — strip vegetation and topsoil from the footprint, rough-grade it flat, and confirm the ground slopes away from the build site so water never pools against your foundation.
- Stage your access — small cabins get built with hand tools and a wheelbarrow, but you still need a clear path for delivering lumber, concrete, and roofing material to the pad.
The 9 Phases of a DIY Cabin Build, In Order
Every one of the plans in the DIY Cabins collection follows the same construction sequence — it's the sequence carpenters have used for a century because each phase has to be structurally sound before the next one can safely start. Here's the order, top to bottom:
- Site prep — clear, grade, and lay out the footprint with batter boards and string lines.
- Foundation — dig and pour footings or piers, let them cure, set posts or blocks.
- Floor framing — set the sill plates, run joists, install the subfloor.
- Wall framing — stand and brace exterior and interior walls, set headers over openings.
- Roof framing — set ridge and rafters (or trusses), sheathe the roof deck.
- Sheathing and weather barrier — wrap the walls, install roofing underlayment and the roof covering.
- Windows and doors — set and flash every rough opening before siding goes on.
- Siding — close in the exterior shell.
- Interior finish — insulation, drywall, flooring, and trim.
The rest of this guide walks each phase in that order, flagging exactly where a first-time builder tends to get stuck.
Foundation: Why Beginners Should Start With Piers
All three plans below use a concrete pier foundation, and that's not a coincidence — piers are the most forgiving foundation type for someone who has never poured concrete. You're digging and pouring a series of small footings instead of one continuous perimeter wall, which means a mistake on one pier doesn't compromise the whole foundation. Layout accuracy still matters: square the footprint with a 3-4-5 triangle at every corner before you dig, and don't build on top of a pour until it's had time to cure. A fresh footing needs roughly a week to reach enough strength to safely carry framing loads, even though it will keep gaining strength for a full 28 days.
Footprint size drives pier count. The 16' x 20' Redwood Cabin Loft DIY Build Plans cover 320 square feet plus a loft — the largest of the three — so budget more digging and more bags of concrete than you would for the smaller footprints below. It's a good tradeoff for a beginner who wants the extra elbow room and doesn't mind the added labor up front.
Floor Framing: Your First Real Carpentry Test
Floor framing is where a beginner first squares lumber, cuts joists to length, and nails a structural assembly together — and it's also where bad habits set in if you rush it. Get the sill plates dead level and square to the piers before a single joist goes down; every wall, window, and roof line above it inherits whatever error you leave in the floor. Run your joists, check crown direction on each board, and skin the deck with subfloor panels, staggering the seams. Take the extra afternoon here. A floor that's out of square by half an inch turns into a wall that's out of plumb, which turns into a roof that doesn't sit right — this phase is the foundation for every phase after it, quite literally.
Wall Framing: Where the Cabin Starts Looking Like a Cabin
Wall framing is the phase that finally feels like building — plates, studs, headers, and top plates going up in an afternoon per wall. Beginners generally do this in sections: build each wall flat on the subfloor, square it, then stand and brace it before moving to the next. Rough openings for windows and doors get framed now, sized to the exact units you plan to install.
This is also where your plan choice changes the job. On a conventional loft cabin like the 12' x 20' Small Cabin Loft plan, walls are stood plumb and the roof frames separately on top of them. On the 12' x 18' Tiny A-Frame Cabin DIY Plans, the angled rafters do double duty as both wall and roof, so "wall framing" and "roof framing" collapse into a single, more repetitive phase — fewer distinct steps, but every cut is an angled cut instead of a square one. It's a genuinely different skill set, and worth knowing before you commit to a plan.
Roof Framing and Roof Load: What That PSF Number Actually Means
Every plan on this site lists a roof load rating in pounds per square foot (PSF) — it's the combined weight of snow, roofing material, and structure the roof is engineered to carry. It matters because it determines rafter size, spacing, and how much lumber you're hauling up a ladder. The 12' x 20' Small Cabin Loft and 12' x 18' A-Frame plans are both rated for 90 PSF. The 16' x 20' Redwood Cabin Loft steps up to a 105 PSF rating, which matters most if you're building somewhere that sees real snow load — check your local code requirement before you assume a lighter roof will pass inspection.
For a first-timer, roof framing is usually the phase that benefits most from a plan with illustrated instructions rather than a blueprint alone — rafter cuts involve angles most beginners have never made with a saw before, and a diagram showing exactly where the birdsmouth cut lands is worth more than a dimension callout on a drawing.
Sheathing, Weather Barrier, Windows, and Doors
Once the roof is framed, the priority flips from "build" to "keep water out." Sheathe the walls and roof deck, then install a weather-resistant barrier — house wrap on the walls, underlayment on the roof — before anything else goes on. Windows and doors get set into their rough openings and flashed next, in that order, because siding has to lap over the flashing, not the other way around. A beginner's most common mistake here is installing siding before flashing windows correctly; water finds that gap eventually, and by then it's behind a finished wall.
Siding: Closing In the Shell
Siding is the last exterior phase and the most visually rewarding — it's the moment the cabin stops looking like a frame and starts looking like a building. Whatever material you choose, it goes on over the weather barrier, working bottom to top so each course overlaps the one below it. This is also a good checkpoint to confirm every window and door is properly flashed, since siding will hide any mistakes made in the previous phase for good.
Interior Finish: The Home Stretch
Interior finish is insulation, drywall (or another interior wall finish), flooring, and trim — the phase that turns a weathertight shell into a livable space. It's also usually the slowest phase for a beginner, simply because it involves the most individual small decisions: outlet heights, trim profiles, flooring transitions. Loft cabins add one more decision here — a ladder or a stair to the sleeping loft — which is worth planning early since it affects where you frame the loft opening back in the wall-framing phase.
The 16' x 20' Redwood Cabin Loft and 12' x 20' Small Cabin Loft plans both include a full bathroom, which adds plumbing rough-in to this phase — plan on that taking longer than insulation and drywall combined if you haven't run plumbing before.
Which Beginner Plan Fits Your First Build?
| Plan | Footprint / Size | Roof Load | Est. Materials Cost | Best For |
|---|---|---|---|---|
| 12' x 18' Tiny A-Frame | 160 SF + sleeping loft | 90 PSF | From $4,000 | Lowest-cost first build; simplest exterior shape |
| 12' x 20' Small Cabin Loft | 215 SF + loft | 90 PSF | From $8,000 | Beginners who want a full bathroom on build one |
| 16' x 20' Redwood Cabin Loft | 320 SF + loft | 105 PSF | From $5,500 | Most interior space; higher snow-load regions |
All three ship as a $125 instant PDF download with a concrete pier foundation and detailed, step-by-step illustrated build instructions — the difference between them is footprint, roof engineering, and how much bathroom and floor space you want to frame on your first attempt.
Bottom Line
Building a small cabin yourself isn't about raw skill — it's about following the right sequence in the right order and not skipping the phases that feel tedious, like curing time and flashing details. A beginner with a Saturday-and-Sunday schedule and a plan built for first-timers can realistically go from bare ground to a finished, weathertight cabin in one season. Start with the plan that matches your budget and site, then work the nine phases above in order.
Related DIY Cabin Guides
- DIY Cabin Build Tools and Skills: What You Actually Need to Start
- Small Cabin Plans With Loft vs. A-Frame: Which DIY Design Is Right for You?
- First-Time Builder? What to Look for in DIY Cabin Plans Before You Buy
- Weekend Retreat, Hunting Camp, or Backyard ADU: Matching Your DIY Cabin Plan to Your Use Case